Login
Join Free
Categories
My Orders
Wish
Cart
0m³/0m³

English
English
 Русский язык
 中文
中文
Common Faults and Repairs for Remote Control Helicopters
2024-07-22 16:43:51
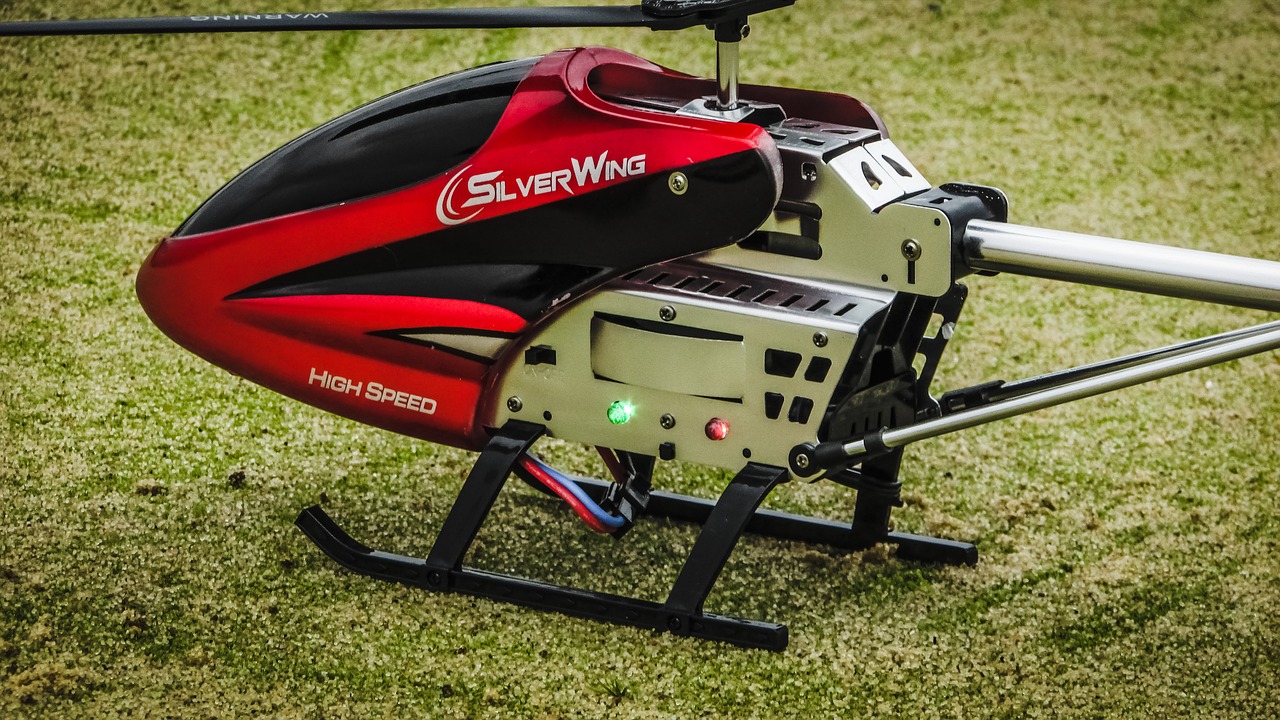
Remote control helicopters are the favorites of many people, and they often control remote control helicopters to fly under the blue sky. The take-off, flight, landing and other actions of remote control helicopters are mainly completed by the rotors. After using the remote control helicopter for a period of time, problems are inevitable. So what to do if the remote control helicopter can't fly? What's the matter with the tilt of the remote control helicopter when taking off? What is the reason for the vibration and delay of the remote control aircraft? The following introduces the common fault repair knowledge of remote control helicopters.
Comprehensive Guide to Common Faults and Maintenance of Remote Control Helicopters
1. How high and how far can the remote control helicopter fly?
Depends on the climb rate and battery capacity and the flight altitude and flight distance of the aircraft are determined by the safe remote control distance and visual distance of the remote control device.
2. Why does the helicopter deviate to the left or other places when taking off, instead of taking off straight?
That is due to the influence of the gyro effect and the underwash airflow of the main rotor, so it is normal for a general helicopter to tilt to the left when taking off! You need to slightly move the aileron control stick (right-hand horizontal control stick) to the right, and you cannot use the aileron fine-tuning to correct it. After observing the left and right side shifts of the body after stable hovering, adjust the aileron fine-tuning. If it deviates in other directions, it can be corrected by fine-tuning on the ground.
3. How long can a model helicopter fly in the air?
Usually the flight time (air time) is mainly determined by the power system. (Such as the power of the motor used in the electric helicopter and the voltage and capacity of the battery carried); the normal flight time is about 8-10 minutes when fully charged; if you do aerobatics, you can only fly for about 4-5 minutes.
4. Why is it difficult to operate a remote-controlled helicopter?
The difficulty of operating a remote-controlled helicopter is mainly caused by two reasons:
1) The self-stability of the helicopter cannot be compared with that of a fixed-wing aircraft. Except for the coaxial twin-propeller structure helicopter, there is no helicopter that can float stably in the air for a long time without control, and you must always maintain a high degree of mental control.
2) Beginners have not formed a conditioned reflex to control the direction in their brains at the beginning. They often issue wrong action instructions to the helicopter when the aircraft is in a certain flight attitude, and the helicopter cannot give the operator enough time to correct it, causing it to fall to the ground.
5. What is the reason for the tilt of the remote control helicopter during takeoff?
Affected by the gyroscopic effect and the airflow under the main rotor, it is normal for the remote control helicopter to tilt during takeoff. It is necessary to slightly turn the aileron control stick to the right (right-hand horizontal control stick), and it cannot be corrected by aileron fine-tuning. After observing the left and right side shifts of the body after stable hovering, adjust the aileron fine-tuning. If it deviates in other directions, it can be corrected by fine-tuning on the ground.
6. Can the remote control helicopter hover in the air?
Any model that can hover in the air is fine. Remember to be within the control range of the remote control!
7. What should I do if the tail of the remote control aircraft cannot be locked and turns to one side?
1) Check the gyroscope of the remote control aircraft to see if it is adjusted to the best position. If it is not adjusted well, there will be two situations, namely, large-degree left and right swing and small-degree left and right swing. Large degree of left and right swing: due to the low sensitivity, the tail cannot be locked and swings left and right. The gyro sensitivity must be increased and adjusted to the appropriate position. Small degree of left and right swing: due to the high sensitivity, the tail is locked too tightly. The gyro sensitivity must be reduced.
2) Check whether the remote control aircraft tail servo pull rod is at a 90-degree vertical angle with the servo and perpendicular to the tail tube. The transmitter control components are in the original position. The servo must be at a 90-degree angle after the power is connected. For safety reasons, the motor line must be disconnected before testing.
8. What causes the remote control aircraft to shake?
1) The main propeller is damaged.
2) The horizontal axis of the main propeller is bent.
3) The main axis of the machine is bent.
4) The tail propeller is damaged.
All of the above will cause shaking. If you find any damage, just replace it with a new one.
There is another situation where the shaking phenomenon is not caused by the damage of the accessories, but the gyro sensitivity is too large. Just adjust the sensitivity down.
9. How to adjust the inverted switch of the remote control aircraft?
The inverted switch of the remote control aircraft is the four buttons on the lower right corner of the transmitter. These four buttons have been adjusted before delivery. Do not adjust them, otherwise it will affect the flight. If you accidentally adjust them, you must restore them to their original positions. If you forget the original settings, you can only adjust them by yourself or return them to the factory for re-adjustment.
10. What are the reasons for the delay of the remote control aircraft?
There are three main points:
1) Most helicopters have wires tied to the landing gear, which are the wires that receive the remote control commands. You need to check whether the wires are broken or damaged.
2) Distance problem, maybe the distance is too far and it is difficult to receive.
3) The power of the remote control. The number of remote control power is directly related to the sensitivity of the remote control.
11. Why does the remote control aircraft not fly and always spin?
The first reason for the spinning is that your motor cannot provide the take-off speed, there is not enough lift, and the torque of the aircraft motor causes the aircraft to spin.
The insufficient motor speed means that the voltage and current are not up to the specified level. The reason may be on the aircraft's circuit board. If the aircraft model has more than four channels, just replace the four-in-one receiver.
12. What is the reason why the charger cannot charge?
The external reasons that lead to the failure of charging during charging are: the charger and the battery are not compatible, especially the difference between the charging current design of the unmatched charger and the lithium battery will cause the instantaneous current to be too large during charging, and the lithium battery will implement overcurrent protection to stop charging. To solve this mismatch, be especially careful not to mix the nickel-metal hydride charger with the lithium battery charger, and try not to use some universal chargers as "universal".
13. The engine cannot start and the starter cannot run?
Cause analysis: The starter battery voltage is insufficient.
Solution: Replace with a new battery; or charge.
14. The starter can rotate but the engine cannot start?
Cause analysis: The battery voltage is insufficient; the main oil needle is not loosened; the starter rotates in the opposite direction.
Solution: Charge or replace the battery; adjust according to the engine manual; connect the battery in reverse.
15. The main rotor blade trajectory is not on the same plane?
Cause analysis: There is a problem with the ball bearing of the main rotor chuck; the weight of the left and right blades is not equal.
Solution: Adjust the pitch to balance the left and right blades.
16. How to solve the strong vibration?
Cause analysis: The main shaft is bent; the tail rotor drive device is deformed; the weight of the left and right blades is not equal.
Solution: Adjust the pitch to balance the left and right blades.
17. What is the problem with the direction control of the remote control helicopter?
Cause analysis: The screws of the tail rotor drive joint are loose; the tail rotor chuck is installed incorrectly; the screws of the tail rotor connector are loose; the gyroscope control direction is reversed.
Solution: Pay attention to the direction when tightening the screws, and correct the tightening screws; correct according to the remote control manual.
18. Why can't the helicopter take off?
Cause analysis: The main rotor pitch is too low and the oil needle is too loose.
Solution: Adjust the pitch according to the engine manual.
19. Why doesn't the tail rotor rotate?
Cause analysis: The tail rotor will only rotate forward and backward, and will not rotate in other cases.
20. What is the reason why the battery cannot be charged (cannot store electricity)?
Cause analysis: Due to long-term use (the battery has been left unused for a long time), the capacity is exhausted and the voltage drops to zero.
Solution: Take it to a professional maintenance outlet for maintenance.
Remote control aircraft charging method:
1) Make sure the aircraft is turned off.
2) The aircraft charging cable will light up at the USB when the USB head is connected to the power supply and the other end is not connected to the aircraft. The light will go out after connecting to the aircraft and will light up again after it is fully charged. The circle is the place where it lights up.
3) Just after playing, you cannot charge it immediately, and the battery is at a high temperature. It needs to cool down for 5 minutes or more. So as not to affect the battery life. The computer charging time takes about 1 hour and 20 minutes. The charger charging time is about 40 minutes. Do not charge for too long, which will cause damage to the battery. Just charge it fully. Do not charge for too long, and unplug the charging cable when it lights up. Otherwise, it is easy to damage the battery.
Maintenance Tips for Remote Control Planes:
1. Small remote control toy aircraft are only suitable for indoor flight. Due to their low wind resistance, they are not suitable for playing in strong winds outdoors. They may be blown away. If you want to play outdoors, it is best to play in windless or calm weather.
2. The aircraft cannot be charged when it is almost completely out of power or when it is ready to be played. As long as the aircraft cannot fly, it must be charged.
3. The aircraft must have residual power. It cannot be charged after the power is used up. It will cause serious damage to the aircraft battery and will not be able to charge. Be sure to pay attention.
4. When storing, please fully charge the battery, otherwise, the battery may cause permanent damage.
5. When not in use for a long time, the battery should be removed.
6. When the model is not in use, please unplug the battery plug.
For businesses looking for remote control toys, visit www.zhorya.com.